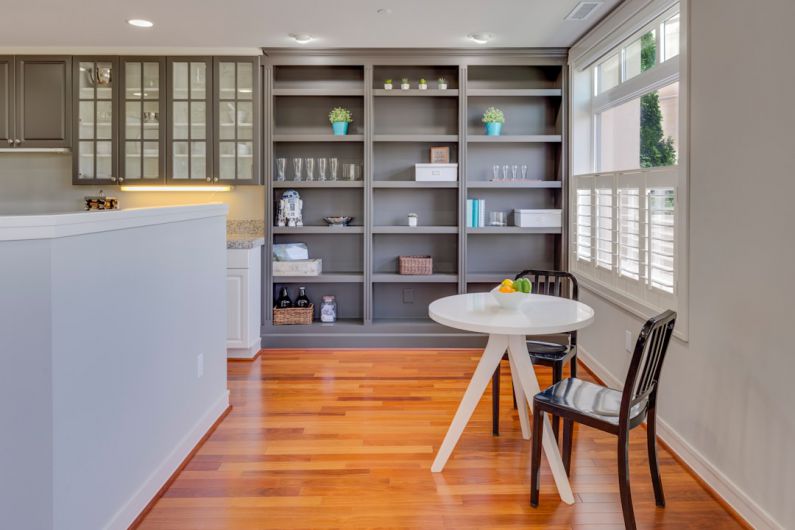
Adding shelves to your outdoor areas can be a practical and stylish way to maximize storage and display space. Whether you’re looking to organize gardening tools, showcase potted plants, or create a cozy outdoor reading nook, installing shelves can help you achieve your desired outdoor aesthetic. With the right tools and a little bit of know-how, you can easily transform your outdoor space into a functional and inviting oasis. In this guide, we will walk you through the steps to install shelves in your outdoor areas.
**Planning Your Outdoor Shelf Project**
Before you start installing shelves in your outdoor space, it’s essential to take some time to plan out your project. Consider the layout of your outdoor area and determine where you want to install the shelves. Take into account the size and weight of the items you plan to store on the shelves to ensure they will be able to support the load. Additionally, think about the overall design aesthetic you want to achieve and choose shelves that complement your outdoor decor.
**Choosing the Right Materials**
When it comes to outdoor shelves, it’s important to select materials that can withstand the elements. Opt for materials that are weather-resistant, such as pressure-treated wood, cedar, or metal. These materials are durable and can stand up to rain, snow, and sunlight without deteriorating. Make sure to choose hardware, such as screws and brackets, that are also suitable for outdoor use to prevent rust and corrosion.
**Preparing Your Outdoor Space**
Before you can start installing shelves, you’ll need to prepare your outdoor space. Clear the area where you plan to install the shelves of any debris or obstructions. Use a level to mark where you want to position the shelves on the wall or fence. Make sure the area is clean and dry before you begin installation to ensure a secure and stable fit.
**Installing the Shelves**
Once you have planned, chosen materials, and prepared your outdoor space, it’s time to install the shelves. Begin by attaching the brackets to the wall or fence using the appropriate hardware. Make sure the brackets are level and securely fastened to provide a stable base for the shelves. Next, place the shelves on top of the brackets and secure them in place using screws or nails. Check to ensure the shelves are level and adjust as needed.
**Decorating Your Outdoor Shelves**
After you have successfully installed the shelves, it’s time to decorate and personalize them to enhance your outdoor space. Consider adding potted plants, lanterns, candles, or decorative items to create a visually appealing display. You can also use the shelves to store outdoor cushions, gardening tools, or other necessities to keep your outdoor area organized and tidy.
**Maintaining Your Outdoor Shelves**
To ensure your outdoor shelves remain in good condition, it’s essential to regularly maintain and care for them. Clean the shelves periodically to remove dirt, dust, and debris that can accumulate over time. Check for any signs of wear or damage, such as rust or rot, and address any issues promptly to prevent further deterioration. Consider applying a weatherproof sealant or paint to protect the shelves from the elements and prolong their lifespan.
**Enhancing Your Outdoor Space with Shelves**
By following these simple steps, you can easily install shelves in your outdoor areas to create a functional and stylish space. Whether you want to add storage, display plants, or create a cozy reading nook, outdoor shelves can help you achieve your outdoor design goals. With the right materials, tools, and a little creativity, you can transform your outdoor space into a welcoming and organized oasis that you can enjoy year-round.
