When it comes to DIY shelving projects, having the right tools on hand can make all the difference in the outcome of your project. Whether you’re a seasoned DIY enthusiast or a beginner looking to tackle your first shelving project, having the proper tools will ensure that you can complete your project efficiently and effectively. From measuring and cutting to assembly and installation, each step of the process requires specific tools to get the job done right. In this article, we will explore the essential tools you need for DIY shelving projects.
Planning and Measuring Tools
Before diving into your DIY shelving project, it’s crucial to have the right planning and measuring tools to ensure accurate dimensions and a precise fit. A tape measure is essential for measuring the space where your shelves will be installed and determining the length of the shelving materials. A level will help you ensure that your shelves are straight and properly aligned. Additionally, a pencil or chalk can be used to mark measurements and guide your cutting and assembly process.
Cutting Tools
Having the right cutting tools is essential for customizing your shelving materials to fit your space perfectly. A circular saw or a miter saw is ideal for cutting large pieces of lumber or plywood to the desired lengths. For more intricate cuts or smaller projects, a handheld jigsaw can be used to make precise cuts with ease. A quality set of sawhorses or a workbench will provide a stable surface for cutting your materials safely and accurately.
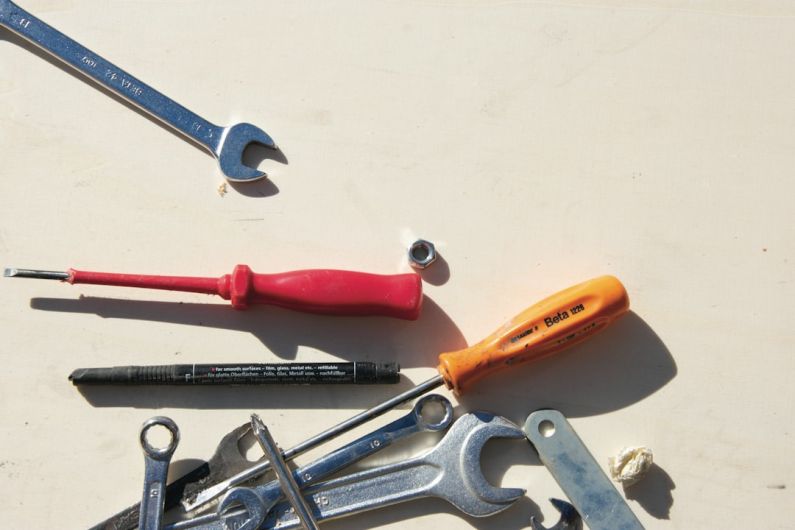
Assembly Tools
Once you have cut your shelving materials to size, you will need the right tools to assemble them securely. A power drill with various drill bits is essential for drilling pilot holes and securing screws or nails during the assembly process. A screwdriver or screw gun will help you drive screws into place quickly and efficiently. Additionally, a hammer and nails can be used for projects that require a more traditional fastening method.
Finishing Tools
After assembling your shelves, you may want to add a finishing touch to enhance the appearance and durability of your project. Sandpaper or a sanding block can be used to smooth out rough edges and surfaces before painting or staining your shelves. A paintbrush or roller is essential for applying a fresh coat of paint or stain to your shelves, giving them a polished and professional look. A paint tray and drop cloth will help protect your workspace and keep your project neat and tidy during the finishing process.
Installation Tools
Once your shelves are assembled and finished, it’s time to install them in your space. Depending on the type of shelving and the mounting method you choose, you may need additional tools for installation. Wall anchors, screws, and a stud finder can be used to securely mount your shelves to the wall. A level will help you ensure that your shelves are installed straight and level. A cordless drill or screwdriver will make the installation process quick and efficient.
In conclusion,
Having the right tools for your DIY shelving project is essential for achieving professional results and ensuring a smooth and successful building process. By investing in quality tools and being prepared with the essentials for planning, measuring, cutting, assembly, finishing, and installation, you can tackle your shelving project with confidence and ease. With the proper tools at your disposal, you can create custom shelves that meet your needs and enhance the functionality and aesthetics of your space.