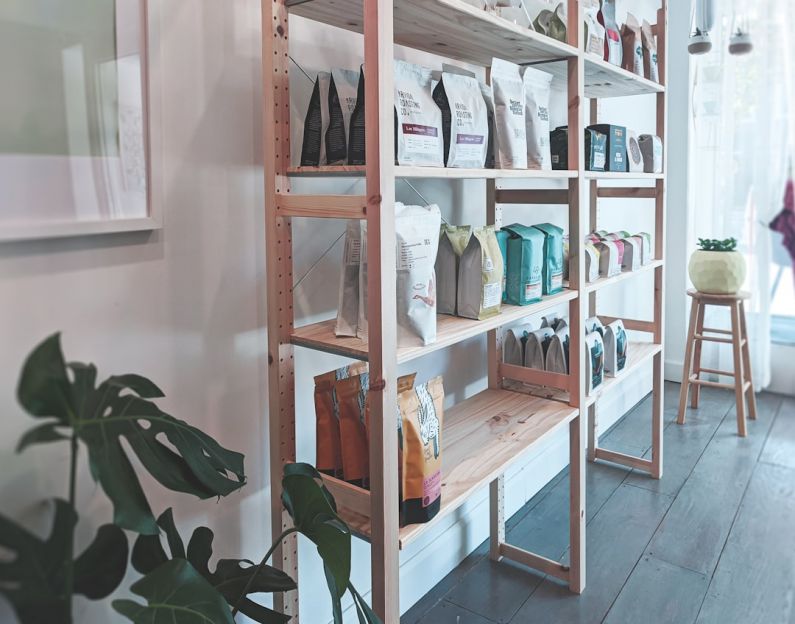
Adding shelves to your kids’ rooms can be a great way to maximize space, organize their belongings, and add a touch of fun and functionality to the room. Whether you are looking to create a reading nook, display their favorite toys, or simply need extra storage, installing shelves can help you achieve these goals. Follow these simple steps to install shelves in your kids’ rooms and transform their space into a more organized and stylish environment.
Choosing the Right Shelves
Before you start the installation process, it’s important to choose the right shelves for your kids’ rooms. Consider the size of the room, the items you want to display or store on the shelves, and the overall aesthetic you are aiming for. For kids’ rooms, you may want to opt for colorful, playful shelves that complement the room’s decor and appeal to your child’s taste. Look for shelves that are sturdy and easy to clean, as they will likely be holding toys, books, and other belongings.
Gathering Materials and Tools
Once you have selected the shelves, gather all the materials and tools you will need for the installation process. Depending on the type of shelves you choose, you may need brackets, screws, a level, a drill, a pencil, and a tape measure. Make sure you have everything on hand before you begin installing the shelves to avoid interruptions and delays.
Measuring and Marking
Before you start drilling holes and mounting the shelves, take the time to measure and mark the wall where the shelves will be installed. Use a tape measure to determine the desired height and spacing between each shelf. Use a pencil to mark the exact placement of the shelves on the wall. Using a level, ensure that the markings are straight and aligned to achieve a professional and polished look.
Installing the Shelves
With the measurements and markings in place, it’s time to start installing the shelves. Begin by attaching the brackets to the wall using screws and a drill. Make sure the brackets are securely fastened to the wall to support the weight of the shelves and their contents. Once the brackets are in place, carefully place the shelves on top of them and secure them using the provided hardware. Double-check the level of the shelves to ensure they are straight and even.
Adding Personal Touches
After the shelves are securely installed, it’s time to add personal touches to make them more inviting and functional for your kids. Consider adding decorative items such as picture frames, stuffed animals, or small plants to create a visually appealing display. You can also use baskets or bins to organize toys, books, or other items on the shelves, keeping the room neat and clutter-free.
Maintaining and Updating
To keep the shelves looking their best and functioning well, regular maintenance is key. Encourage your kids to keep their belongings organized and put things back in their designated places. Periodically dust and clean the shelves to remove any dirt or debris. As your kids grow and their interests change, consider updating the shelves with new decorations or rearranging the items to reflect their evolving tastes.
Elevating Your Kids’ Rooms with Shelves
Installing shelves in your kids’ rooms can not only help you maximize space and keep the room organized but also add a touch of personality and style to the space. By following these simple steps and personalizing the shelves to suit your child’s preferences, you can create a functional and visually appealing storage solution that will enhance their room for years to come. So, roll up your sleeves, gather your materials, and start transforming your kids’ rooms with stylish and practical shelves today.
