Creating an organized and functional workspace in your home office is essential for productivity and efficiency. One effective way to maximize storage and display space in your home office is by installing shelves. Whether you need a place to store books, office supplies, or decorative items, adding shelves can help you keep your workspace tidy and clutter-free. In this article, we will discuss how to install shelves in a home office, providing you with a step-by-step guide to complete this project successfully.
Selecting the Right Shelves for Your Home Office
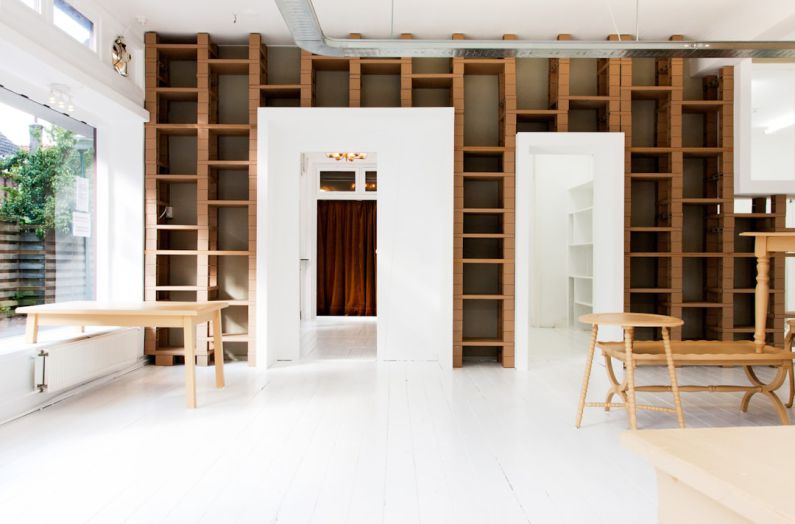
Before you begin the installation process, it is crucial to choose the right type of shelves for your home office. Consider the size of your office space, the weight of the items you plan to store on the shelves, and the overall aesthetic of the room. Floating shelves are a popular choice for home offices as they create a clean and modern look while providing ample storage space. Additionally, adjustable shelves allow you to customize the height between each shelf to accommodate items of various sizes.
Gather the Necessary Tools and Supplies
To install shelves in your home office, you will need the following tools and supplies:
– Stud finder
– Level
– Drill
– Screws
– Wall anchors (if necessary)
– Shelf brackets or floating shelf hardware
– Measuring tape
Locate and Mark the Wall Studs
Using a stud finder, locate the wall studs where you plan to install the shelves. Wall studs provide the necessary support to hold the weight of the shelves and the items placed on them. Mark the stud locations on the wall using a pencil to guide you during the installation process.
Determine the Placement of the Shelves
Before installing the shelves, determine the appropriate height and spacing between each shelf based on your storage needs and the size of the items you will be storing. Use a level to ensure that the shelves will be installed straight and evenly spaced.
Install the Shelf Brackets or Floating Shelf Hardware
If you are using shelf brackets, attach them to the wall studs using screws and a drill. Make sure the brackets are securely fastened to the wall to support the weight of the shelves. If you are installing floating shelves, follow the manufacturer’s instructions for mounting the hardware to the wall.
Mount the Shelves
Once the brackets or floating shelf hardware are in place, carefully position the shelves on top of the supports. Use a level to ensure that the shelves are straight and adjust as needed. Secure the shelves to the brackets or hardware using screws to prevent them from shifting or falling.
Arrange and Decorate Your Shelves
Once the shelves are securely installed, it is time to arrange and decorate them with your favorite books, office supplies, plants, and decorative items. Consider using storage baskets or boxes to keep smaller items organized and visually appealing. Experiment with different layouts and arrangements to create a personalized and functional display on your shelves.
Maintaining Your Shelves
To keep your shelves looking their best, regularly dust and clean them to remove any dirt or debris. Avoid placing heavy or bulky items on the shelves that may cause them to sag or become unstable. Periodically check the shelves and hardware for any signs of wear or damage and make any necessary repairs or adjustments as needed.
In summary, installing shelves in your home office is a practical and stylish way to enhance your workspace. By following these step-by-step instructions, you can create a functional storage solution that meets your organizational needs and complements the design of your home office. With the right tools and a little bit of effort, you can transform your workspace into a well-organized and inspiring environment that promotes productivity and creativity.