A well-organized closet can make a significant difference in your daily routine, saving you time and reducing stress. Installing shelves in a closet is a practical way to maximize storage space and keep your belongings neatly organized. Whether you are looking to create more space for your clothes, shoes, or accessories, adding shelves to your closet can help you achieve a clutter-free and efficient storage solution. In this guide, we will take you through the steps on how to install shelves in a closet, making the most out of your available space.
**Assess Your Closet Space**
Before you begin the installation process, take the time to assess your closet space and determine the ideal location for your shelves. Consider the size and layout of your closet, as well as the items you plan to store on the shelves. Take measurements to ensure that the shelves will fit comfortably within the space without obstructing the hanging rods or interfering with the closet door.
**Gather Your Materials**
To install shelves in a closet, you will need a few essential materials and tools. Make sure you have the following items on hand before you start the installation process:
– Shelving material (such as wood or wire shelves)
– Shelf brackets
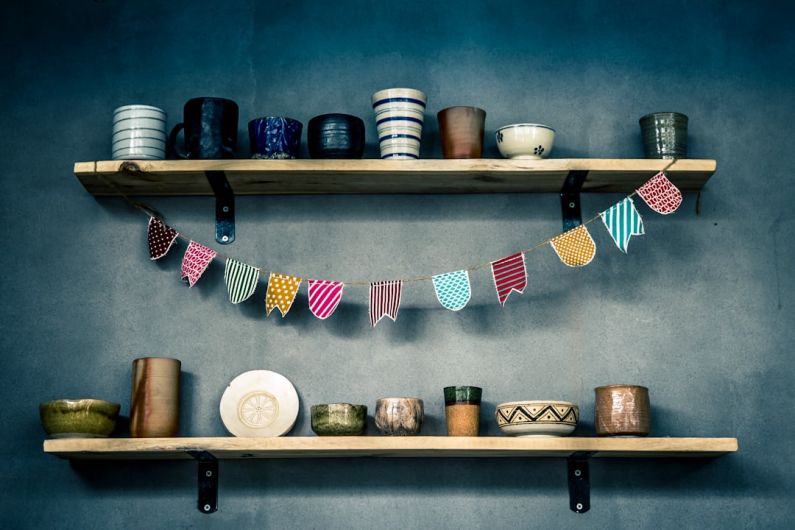
– Screws
– Drill
– Level
– Measuring tape
– Pencil
– Stud finder
**Locate and Mark the Position for Your Shelves**
Using a measuring tape and a pencil, mark the desired height and position for your shelves on the closet walls. Use a level to ensure that the markings are straight and even. If you plan to install multiple shelves, mark the positions for each shelf accordingly, leaving enough space between them to accommodate the items you intend to store.
**Find and Secure the Wall Studs**
Before attaching the shelf brackets to the wall, use a stud finder to locate the wall studs. Securing the brackets to the studs will ensure that the shelves are properly supported and can bear the weight of your belongings. Mark the positions of the studs on the wall with a pencil.
**Install the Shelf Brackets**
Once you have located and marked the positions for the shelves and wall studs, it is time to install the shelf brackets. Position the brackets at the marked locations on the wall, making sure they are aligned with the studs. Use a drill to secure the brackets to the wall using screws, ensuring they are firmly in place.
**Cut and Install the Shelves**
If you are using wooden shelves, measure and cut the shelves to fit the dimensions of your closet space. Place the shelves on top of the brackets and adjust them as needed to ensure they are level and secure. For wire shelves, simply place the shelves on top of the brackets and adjust them to the desired height.
**Organize Your Belongings**
Once the shelves are securely installed, it is time to organize your belongings on the newly installed shelves. Arrange your clothes, shoes, accessories, or any other items in a way that maximizes the available space and makes it easy for you to find what you need. Consider using storage bins, baskets, or dividers to keep smaller items organized and easily accessible.
**Make the Most of Your Closet Space**
By following these simple steps, you can easily install shelves in your closet and create a more organized and efficient storage solution. Take advantage of the added space to keep your belongings neatly arranged and easily accessible. With a well-organized closet, you can streamline your daily routine and enjoy a clutter-free living space.