Having a well-organized outdoor space not only enhances the aesthetic appeal of your garden but also makes gardening tasks more efficient. One key aspect of maintaining order in your outdoor area is arranging your garden tools on outdoor shelves. By strategically placing your tools, you can create a functional and visually pleasing setup that allows easy access to all your gardening essentials. In this article, we will explore some practical tips on how to arrange garden tools on outdoor shelves to maximize space and ease of use.
**Consider Your Workflow**
Before diving into arranging your garden tools, take a moment to consider your workflow. Think about the tasks you usually perform in your garden and which tools you use most frequently. By understanding your workflow, you can arrange your tools in a way that facilitates easy access and efficient use. For example, if you often find yourself reaching for a particular tool while working in a specific area of your garden, consider placing that tool closer to that area for quick retrieval.
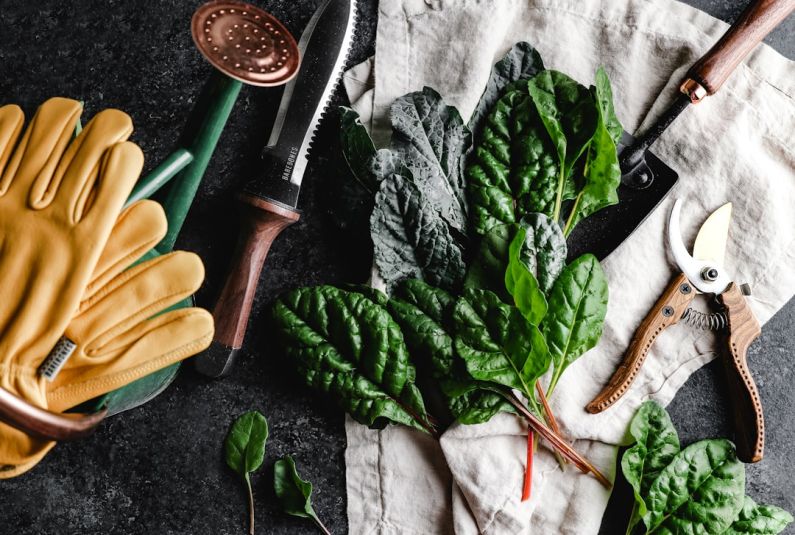
**Group Similar Tools Together**
To create a more organized and visually appealing display, group similar tools together on your outdoor shelves. This grouping can help you quickly locate the tools you need and prevent clutter. For instance, you can group all your hand tools, such as trowels and pruners, in one section and arrange larger tools like shovels and rakes in another section. By categorizing your tools, you can maintain order and streamline your gardening tasks.
**Utilize Vertical Space**
When arranging garden tools on outdoor shelves, make use of vertical space to maximize storage capacity. Install hooks or pegs on the walls above your shelves to hang tools such as hoses, shears, and gloves. Hanging tools vertically not only saves space on your shelves but also keeps them easily accessible and visible. Additionally, using vertical storage solutions can prevent smaller tools from getting lost or buried beneath larger items.
**Consider Tool Size and Weight**
When placing tools on outdoor shelves, consider their size and weight to prevent overcrowding or overloading. Heavier tools like shovels and pitchforks should be placed on the lower shelves to prevent them from toppling over. Lighter tools and smaller items can be stored on higher shelves or hung on hooks. By distributing the weight of your tools evenly across the shelves, you can maintain stability and reduce the risk of accidents.
**Label and Organize**
To further enhance the organization of your outdoor shelves, consider labeling your tools or using clear storage containers. Labeling tools can help you quickly identify each item and ensure that they are returned to their designated spot after use. Clear containers are also useful for storing smaller items like seeds, bulbs, and gardening gloves, keeping them visible and easily accessible. By incorporating labels and containers into your storage system, you can maintain order and prevent clutter.
**Regular Maintenance**
Once you have arranged your garden tools on outdoor shelves, make a habit of regularly maintaining and organizing your storage space. Periodically review the layout of your tools to ensure that it still aligns with your workflow and gardening needs. Remove any tools that you no longer use or are damaged, and reorganize items as needed. By staying on top of maintenance, you can ensure that your outdoor shelves remain functional and efficient for your gardening endeavors.
**In Summary**
Arranging garden tools on outdoor shelves is a simple yet effective way to maintain order and efficiency in your outdoor space. By considering your workflow, grouping similar tools, utilizing vertical space, and organizing by size and weight, you can create a well-organized storage system that enhances your gardening experience. Incorporating labels, clear containers, and regular maintenance can further optimize your storage setup and ensure that your tools are easily accessible when you need them. With these practical tips, you can create a functional and visually pleasing display of garden tools that makes gardening tasks a breeze.